Showing posts with label maila bedroom. Show all posts

Saturday, November 5, 2016

Maila's Room - Tour #1

I realize that I have basically ONLY posted about M&M's rooms... but to be fair, they are the ONLY rooms in the house that have been painted and have some pictures hanging....

Here's a little tour of where in are in Maila's room... but before we get to the good stuff, let me remind you of where we came from...


And here is where we are now...


There are some adorable details too...

The rug. OH THAT RUG. I found it on Rugs USA and it's serioiusly my favorite in the history of EVER!!! It looks brown in the photo below, but it's much greyer in real life...
I replaced the handles on the closets with these adorable ones from Lowes...


Replaced the hardware on the door with this beautiful handle...


Finally I gave her some of my dolls from when I was a little baby...


I love her room so much!! There are still things I need/want to do in there.. I want to change out some of the pictures that are in the frames and I want to buy/make a gray tufted winged-back headboard for her bed.... that's why the glitter name sign is hung so high..


I also want to get her some pretty matching lamps for her little tables.. but all in all. I love this room!! It's probably my favorite!!


xoxo
Hailey

Monday, October 24, 2016

How to get paint off of Laminate Floors

Guys, there's been a lot of painting going on at my house. And I have a lot of toddlers. Well, ok. I don't have A LOT of toddlers, but I have two. SOMETIMES IT FEELS LIKE A LOT OK??!

So maybe one of them walked around in her shoes and maybe she got paint all over the floor because maybe I had taken out the plastic cover because it was bothering me ok?? So MAYBE THIS IS ALL MY FAULT!!

Let's not lay the blame out on who done it... let's just fix it.


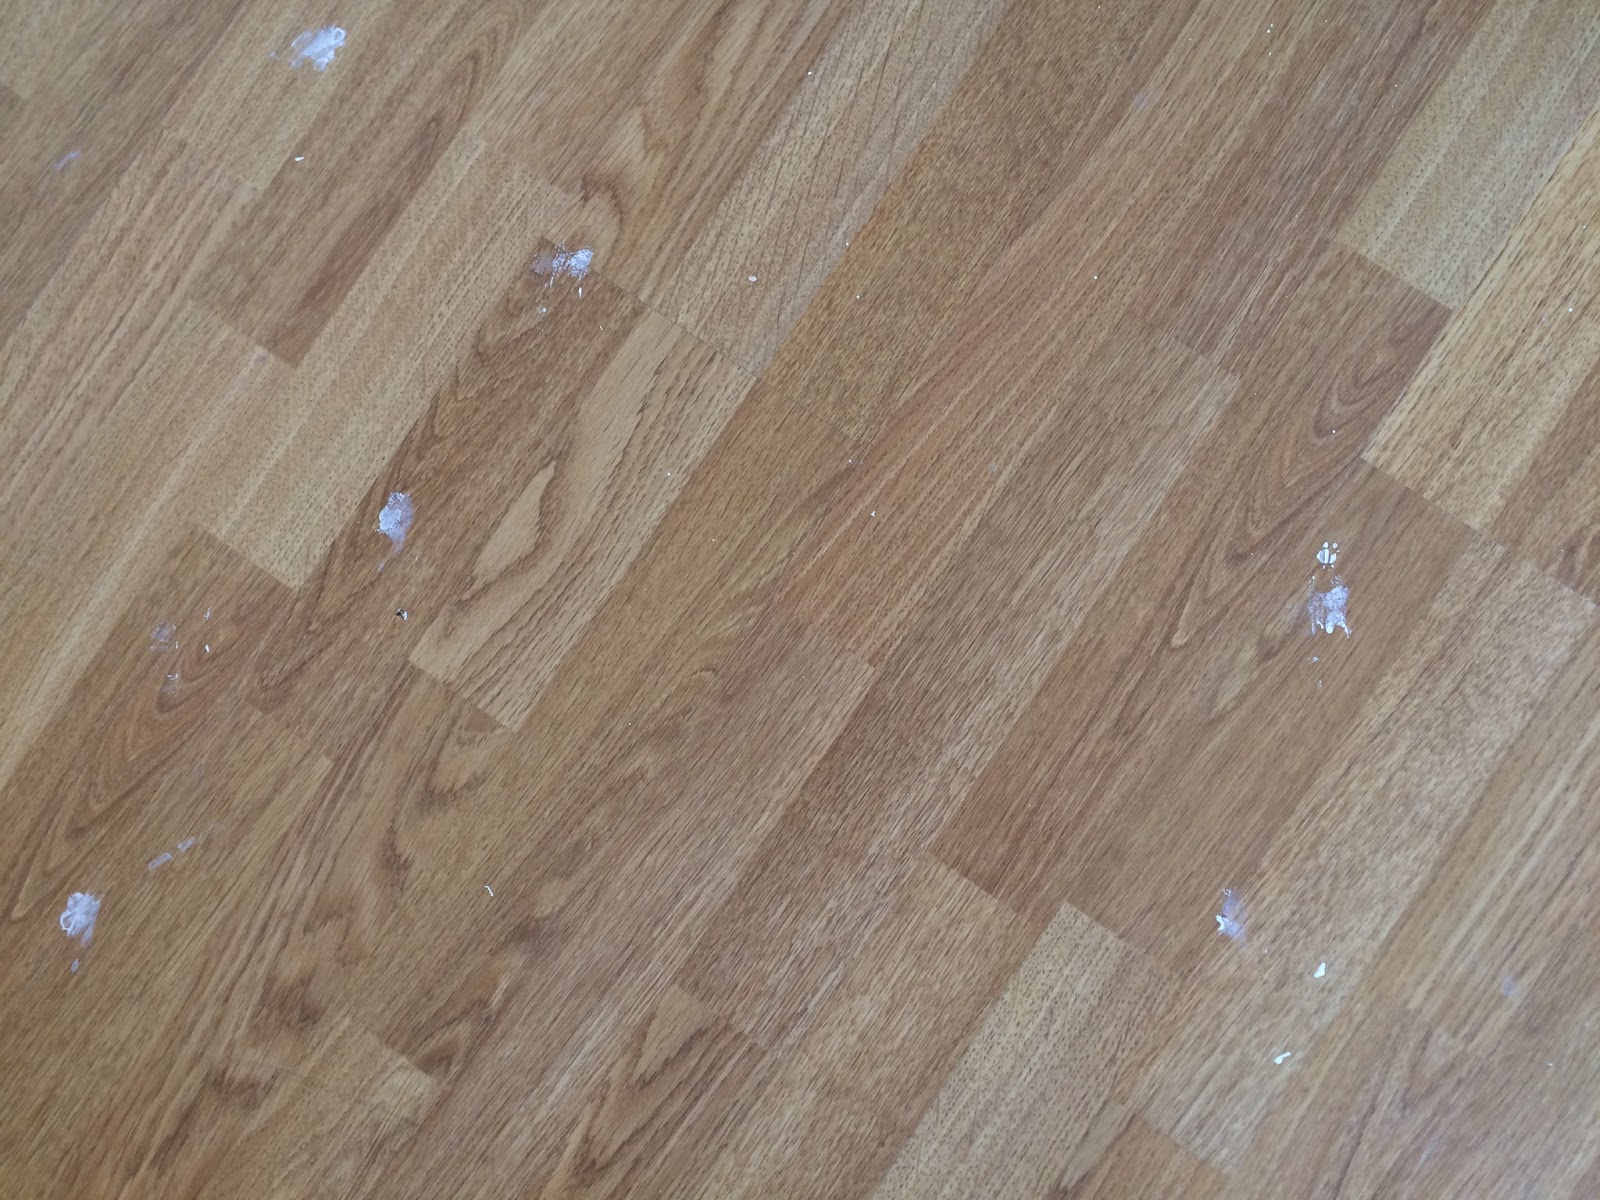
Ok. So just imagine these little white paint spots ALL OVER EVERYWHERE. I do count my blessings though that at least it's not carpet in the basement!!

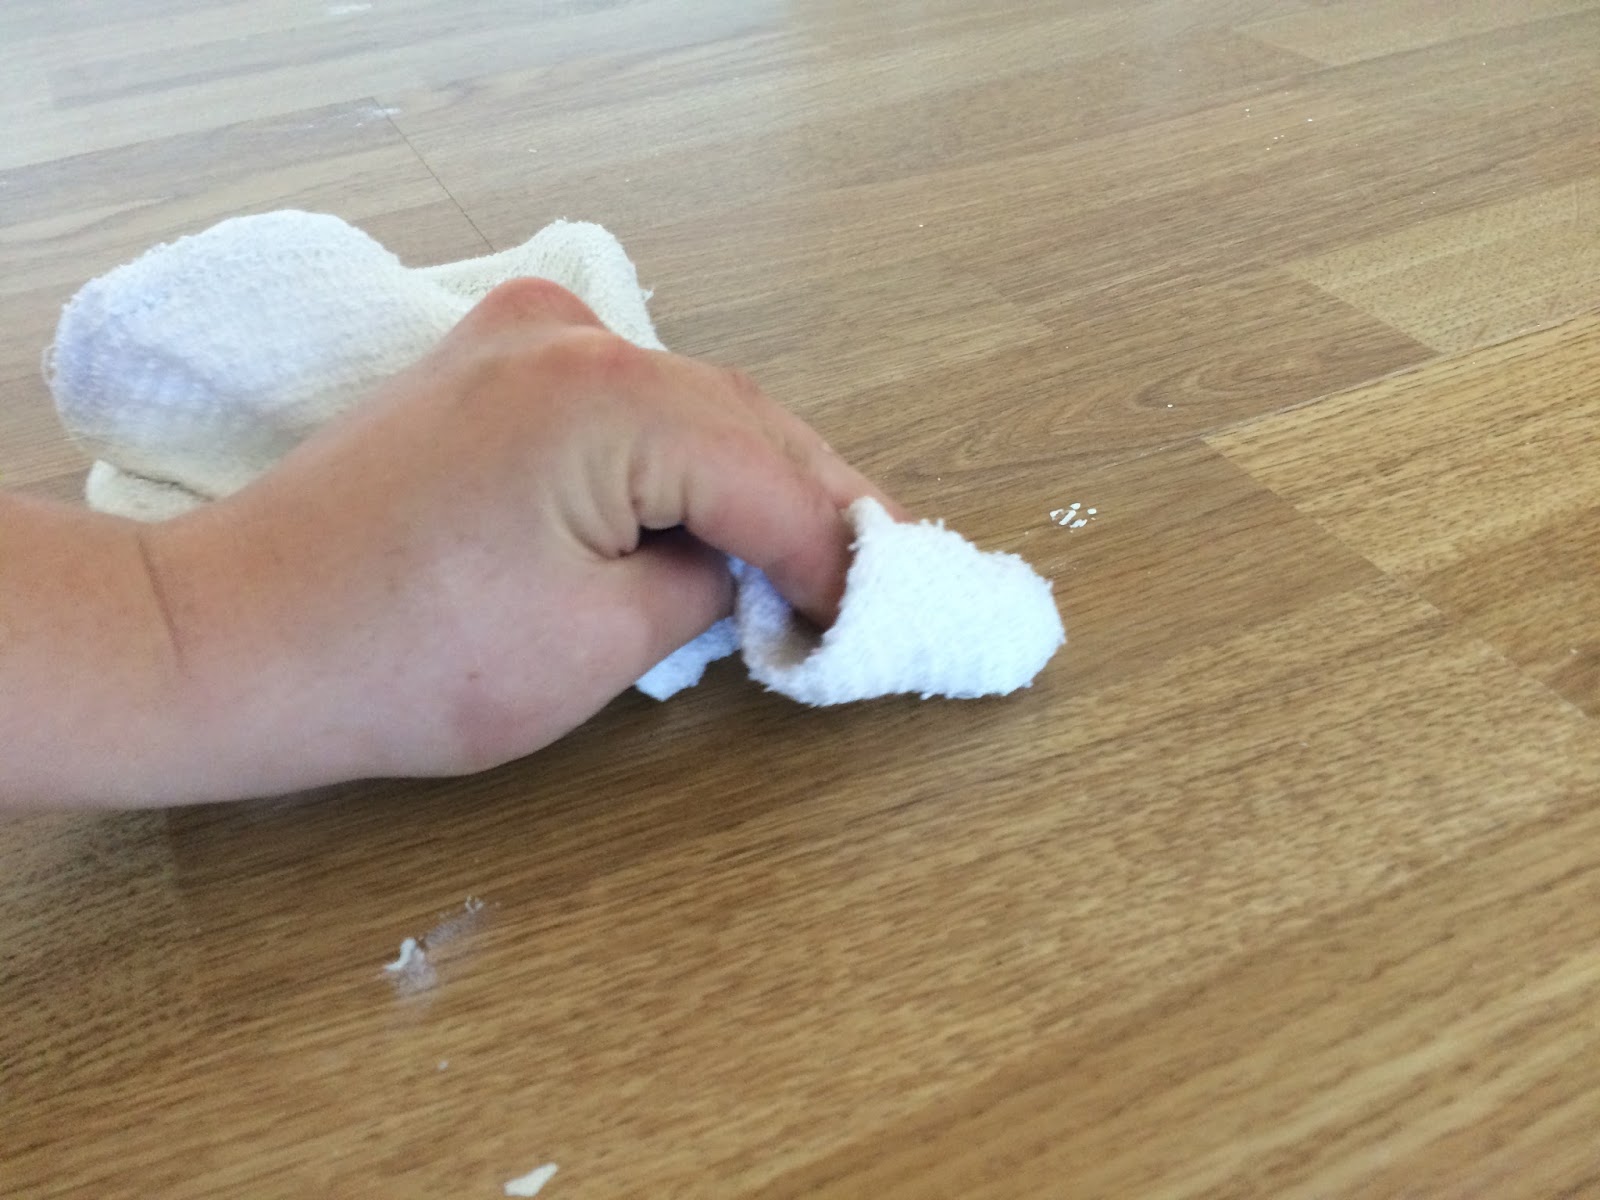
The solution to my problems was 100% Acetone. I first tested it in a corner of the closet to make sure that it wouldn't hurt the finish on my floors. MAKE SURE YOU CHECK!! After that, I got a little rag, poured some acetone on the rag and then got to scrubbing the floors. It worked like a charm!!


Above is the after.. MUCH BETTER!! Now excuse me while I do this in 3 rooms....


xoxo
Hailey

Wednesday, October 19, 2016

Maila's Room - Building the Board & Batten

Ok. This is probably my favorite room in the house so far!! This was definitely a labor of love. And Maila is only 4 so she probably doesn't appreciate how much work I put into this project, but let's be real... while I want Maila to love this room... I also want to love it. Enter BOARD & BATTEN.

When we last saw eachother, Maila's room looked something like this...


I had just added the chair rail around the span on the room...

NOW it looks like this....


Oh my goodness.. It's so pretty and such a difference!! Let me know you how I got there!!


After adding the horizontal chair rail around the entire perimeter of the room... I hopped on over to Lowes and picked up some 1x2 pieces of primed MDF..... (the material I used to the chair rail was a 1x3 primed MDF)


Since I knew I was already going to be painting all of the trim I was planning to put into the room, I wanted to save myself some time and get something already primed.

I measured from the top of the baseboard to the bottom of the chair rail, cut the board to the right size and screwed them into the wall... it looked a little like this...


I ran into a couple of problems while I was doing this throughout the room. So let me help you so if you decide to do this, you won't run into problems too...

The MDF is wider than my baseboard. But I didn't want to have to take out my baseboards, but I didn't want the MDF sticking out awkwardly over the baseboard. My solution was the cut the bottom part of the vertical slats, where they meet the baseboard, at a 45 degree angle so they would kind of give the illusion that they were the same width as the baseboards....

I know that's confusing.. here's a picture!


Above is showing you the 45 degree angled cut on the bottom of the MDF... Below is what it looks like on the wall...


Yes, yes, I could have bought some slimmer trim to do the vertical slats with, but I wanted them to have some weight and add some depth to the room. So this is why I chose this option.

The other problem I ran into was that I ran out of enough MDF to do every single vertical slat in one piece. See below....


It was a simple solution... I just took left over MDF, measured it to size, cut it, and then installed it.


 Here is what it looked like after. Nothing a little spackle, wood filler, and caulk can't hide!!


Here's what it looked like installed throughout the room before it was painted....


I did have to pay attention to where the sockets went in the room. Whenever I went to install the vertical trim and there was a socket, I had to be sure that I could put the cover on the socket and not have the trim in the way. It wasn't hard, just meant that some boards had to be moved over slightly.


After I finished installing ALL of the trim, then came the time consuming part...

CAULKING EVERY SEAM

Ok guys.. if you want your project to look like someone who actually knew what they were doing did it, then all the seams need to be caulked. all of the surfaces need to be sanded. Where the screws went in, they all need to be countersunk and then filled in with wood filler and then sanded again.

All the surfaces need to be smooth and no noticable seams should be showing!! It's a LOT of work, and takes a LOT of time...but if you put in the time in the prep work... the outcome will be totally worth it!!!


xoxo
Hailey

Tuesday, October 11, 2016

Maila's Bedroom - Primer, Paint, Chair Rail & Baseboards!

Whew!! That's a lot of work going into one little girl's room!!

Yesterday the kids woke up early so I decided to take advantage of it and get some work done. I loaded up our van with some things from our rental and headed over. We got there around 8:20 AM and I did not get home until 12:45 AM... Yes you read that right... I spent 16 ish hours at the house working. I am SO TIRED!!! But I got so much done!!

Here's what it looked like before I spent 16 hours in one day ripping it apart...


And here is what it looked like when I left at 12:45 AM...

Sorry for the low quality - it was late.


- 2 coats of Primer
- 2 coats of Pink Paint on the top half of the wall
- Chair rail wood cut and installed (I used pre-primed MDF)
- Old metal baseboards removed, cleaned, and replaced with custom wooden baseboard heater covers that I MADE!! Woo!

Old Metal Baseboard

New Baseboard Heater Covers
Kyle is a little concerned about the efficiency of wooden covers on baseboard heaters... but I think I may line the back with some aluminum strips to help them be more efficient. I HATE HATE HATE the look of baseboard heaters in general but the metal covers are especially gross. I LOVE how this wooden cover looks! Like LOVE it! I made it study enough that little feet can stand on it too to see out of the window! 

It looks so much better, and to be honest - I'm super proud of myself that I was able to complete so much today!! Lucky for me I had lots of help - my sweet friend came over and brought her kids so that they could keep my kids occupied and she helped me paint! And I'd like to give a special thanks to my new compound miter saw for keeping me company on that long lonely night!

There is still lots to do in this room.. I need to finish installing the board and batten on the walls, caulk everything so it looks more professional, paint the lower half of the wall, the trim, and the baseboard heater cover. I also need to paint the two columns in this room. Also - I'm not sure if you noticed or not but there is no paint on the very top of the wall.. that is where hopefully the crown molding will go!

So much to do... and we are moving into this house in less than three weeks!!! AHH!

Tutorials to follow later! This was just a sneek!


xoxo
Hailey